Be sure of your target and what’s around it is a basic tenet of firearm safety. That means visually confirming that what your muzzle is trained on is indeed something you’re willing to shoot. It means being sure that there is no person, animal, or object in the path of the bullet that you don’t want to strike. There have been tragedies caused by uneducated or over-excited people who shot in the direction of sound before confirming the target visually.
Most violent crime happens in dim light or dark conditions—and for convenience, please consider those terms interchangeable going forward. This article addresses the basics, and busts some myths, of what’s required to cover you in terms of target identification in the dark.
Myths About Gear
Night sights, like tritium or phosphorous sights, are great for aligning sights in the dark. They’re great at making relatively short work of knowing where the muzzle of your gun is in the dark.
Laser sights produce a column of light, usually red or green, that provides confirmation (assuming it’s correctly zeroed) of where the muzzle is aimed. Laser sights can be good for people with physical difficulties that interfere with sight alignment. They can often fail to produce the desired result, especially in daytime. Look elsewhere on the Bravo Concealment blog for an in-depth discussion of the strengths and limitations of lasers.
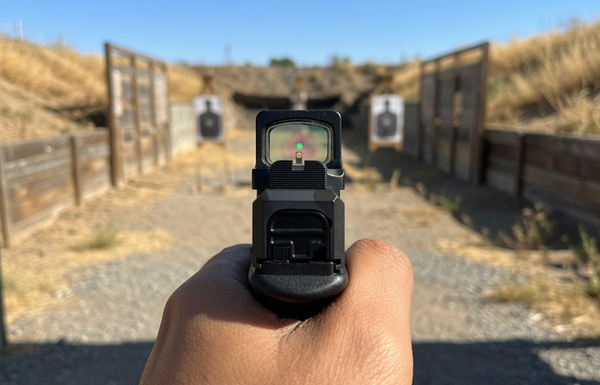
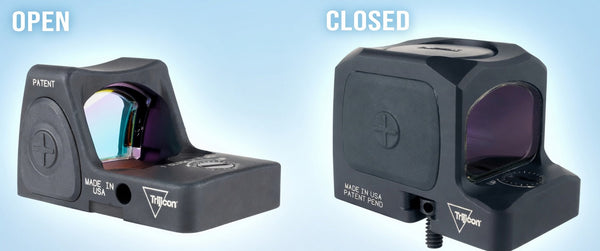
Electronic sights, i.e. “red dot,” holographic or reflex sights greatly simplify the aiming process. Like laser sights, these too have been discussed at length elsewhere on this blog.
Let’s bust a common myth I hear about all of these types of sights. While each has its own good points, none of them do anything to help you identify whether a deadly force-justifying threat exists in the dark. You could have all three on your gun and the same would be true.
Short of having an infrared optic on your handgun (virtually unheard of and harder to obtain), there is no substitute for actual light on the target when shooting in the dark. Period.
With that common misunderstanding out of the way, let’s discuss the basic principles of dim-light shooting.
Auxiliary Lights
If you carry a handgun or keep one nearby in the darkness, you need a light. Weapon-mounted lights are handy in that the light and gun are always attached, and it’s easy to use two hands in an almost-normal firing grip while shooting. Problem is, you can’t search unknown places with a loaded flashlight! Remember that other safety rule, Never Allow the Muzzle to Cover Anything You’re Not Willing To Destroy. If you live alone or in a very predictable arrangement with a partner or roommate, a weapon-mounted light for indoors can be a great idea. However, it’s ideal, especially when the gun goes with you out of the home, to have a handheld light that’s completely separate.
Choosing a handheld light is important. You’ll need adequate brightness to identify whether someone across a large room, say, is wielding a weapon. That’s a surprisingly intense light requirement. Plan on shopping for something with, at minimum, 75 lumens for indoor use and 150 for outdoors. Higher-rated, super-bright lights can be useful if you’re responsible for a farm, ranch, warehouse, or worksite. However, a too-bright light can be blinding where there are a lot of reflective surfaces or light-colored walls. Choose carefully.
A tail cap pressure switch is ideal. A light so equipped eliminates any struggle to feel around for the switch. If not clicked “on,” the light will cease if the flashlight is dropped, reducing the risk of marking your location to an intruder or assailant.
Using a Tactical Flashlight
As much as necessary and as little as possible is the guiding principle of tactical flashlight use in a threat situation. Use as much light as you need to make a hasty escape without tripping, or to identify a threat as such. Otherwise, the light should be off. After having used the light, move away from the area that was just lit up. In other words, make the assailant’s job tough!
Shooting with a flashlight that’s not attached to the gun, and doing it well, isn’t hard but it does require some practice. The light should be carried on your support side; retrieved with your support hand. Take care not to muzzle your own hand when drawing or otherwise handling the gun.
There are two light-wielding techniques favored by most uniformed officers that I’ve worked with. Although there are more, I’ll focus on the two that work well with a tailcap switch-equipped light and seem most efficient for the largest number of shooters.
Harries (Hair-EEZ)
technique is named after the police officer who devised it. This method entails pushing the support hand under the firing hand during the draw. Ultimately, the backs of the hands are pressed together, with the support hand holding the light tightly and high enough to illuminate the front sight. The rear sight becomes visible as a silhouette. The two most common errors I see when people are learning the Harries style is softening the wrists and/or elbows, which can cause the slide to short-cycle, and not putting equal pressure on both hands. In the latter error, shots usually are pushed off-center in the direction of the support side.
Jawline Index
technique is extremely simple. It entails holding the light in a fist, thumb and lens on the same side of the fist. Bend the elbow so that the knuckles rest on the side of the jaw or cheek. Now both the rear and front sights can be illuminated—but be careful not to aim the light directly at the rear of the slide or glare will result. An advantage of this technique is the ability to move the light independently from the gun.
If it’s not already obvious, one-handed shooting is a skill to possess before trying to shoot holding a flashlight. There are a number of ways to handle reloads and malfunction clearances too. As lights get smaller and smaller with the same capabilities as the large ones of old, what to do with the light while manipulating the gun becomes of less concern. Many people simply move between two fingers and use the thumb and forefinger to handle mags and the slide. Others tuck the light into the firing-side armpit—if it’s long enough not to get lost in there. Pocketing the light is a possibility, but it is time-consuming. Regardless of the method chosen, turn off the light and move away from the area where you were using it while performing other operations on the gun.
I hope this bit of guidance has whet your appetite for trying out or polishing up your skills with a tactical flashlight. Much of this practice can be done off-range, so you’ll make the most of your time and ammo on-range. Of course, be absolutely sure to check that the chamber and all magazines are clear of live ammunition before practicing away from the range.
Comments (1)
One point of contention, there is no such thing as too much light. If you’re getting excessive reflective illumination it’s a training issue. If you learn to properly deploy your light either handheld or WML, light is your friend!