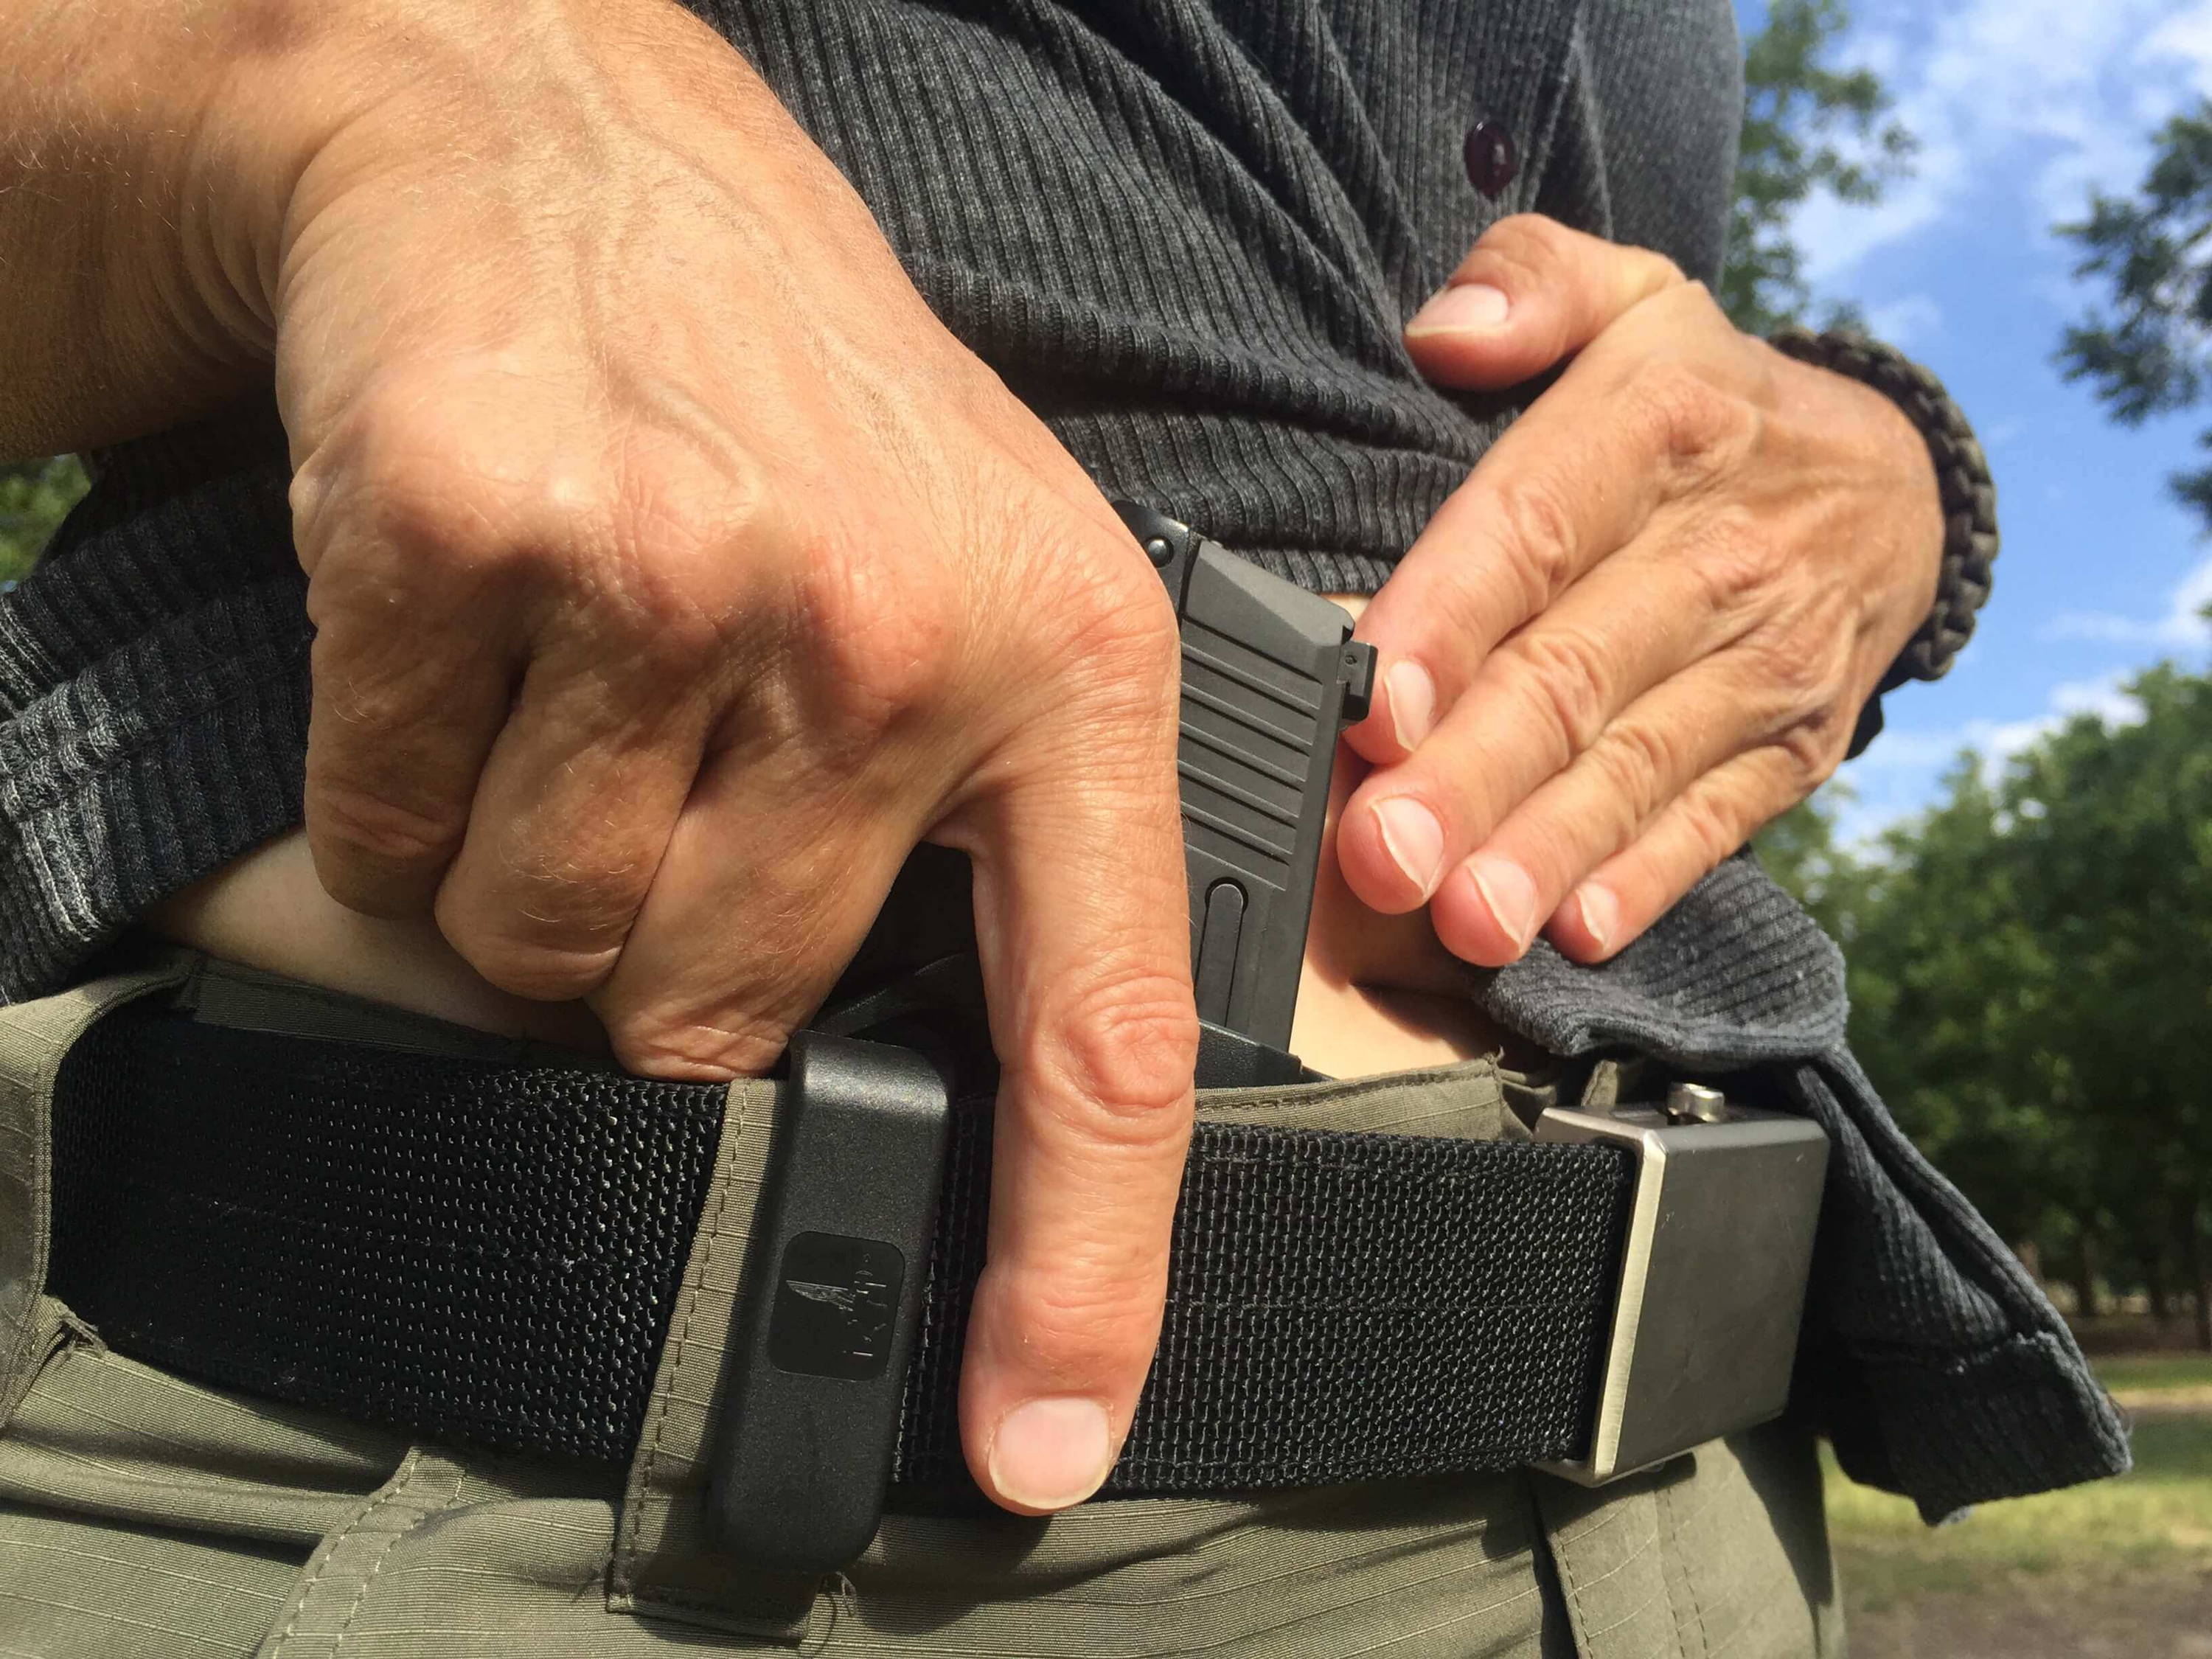
1) Maintain a firing grip throughout the holstering process
Never loosen your grip as you reholster. This is essential discipline for not only safety, but developing an automatic habit that will serve you in self-defense or competition when there’s other important stuff to focus on.
A good holster will not pinch or punish you for keeping a firing grip until the gun is secured in the holster. Bravo Concealment holsters are sculpted to ensure even people with big, fat fingers can fit that middle finger around the grip until the gun is all the way home inside the holster.
2) Be sure the holster is clear of obstructions involving the holster itself
Some holsters have retention straps that tend to dangle over the opening. Some have trigger finger-operated retention devices that can, however rarely during rough use, collect snow or small sticks that protrude into the holster. It is your responsibility to be sure the holster opening and interior are clear before inserting your gun. Never use the muzzle to clear an obstruction, and never cross your support hand in front of the muzzle to clear the holster!
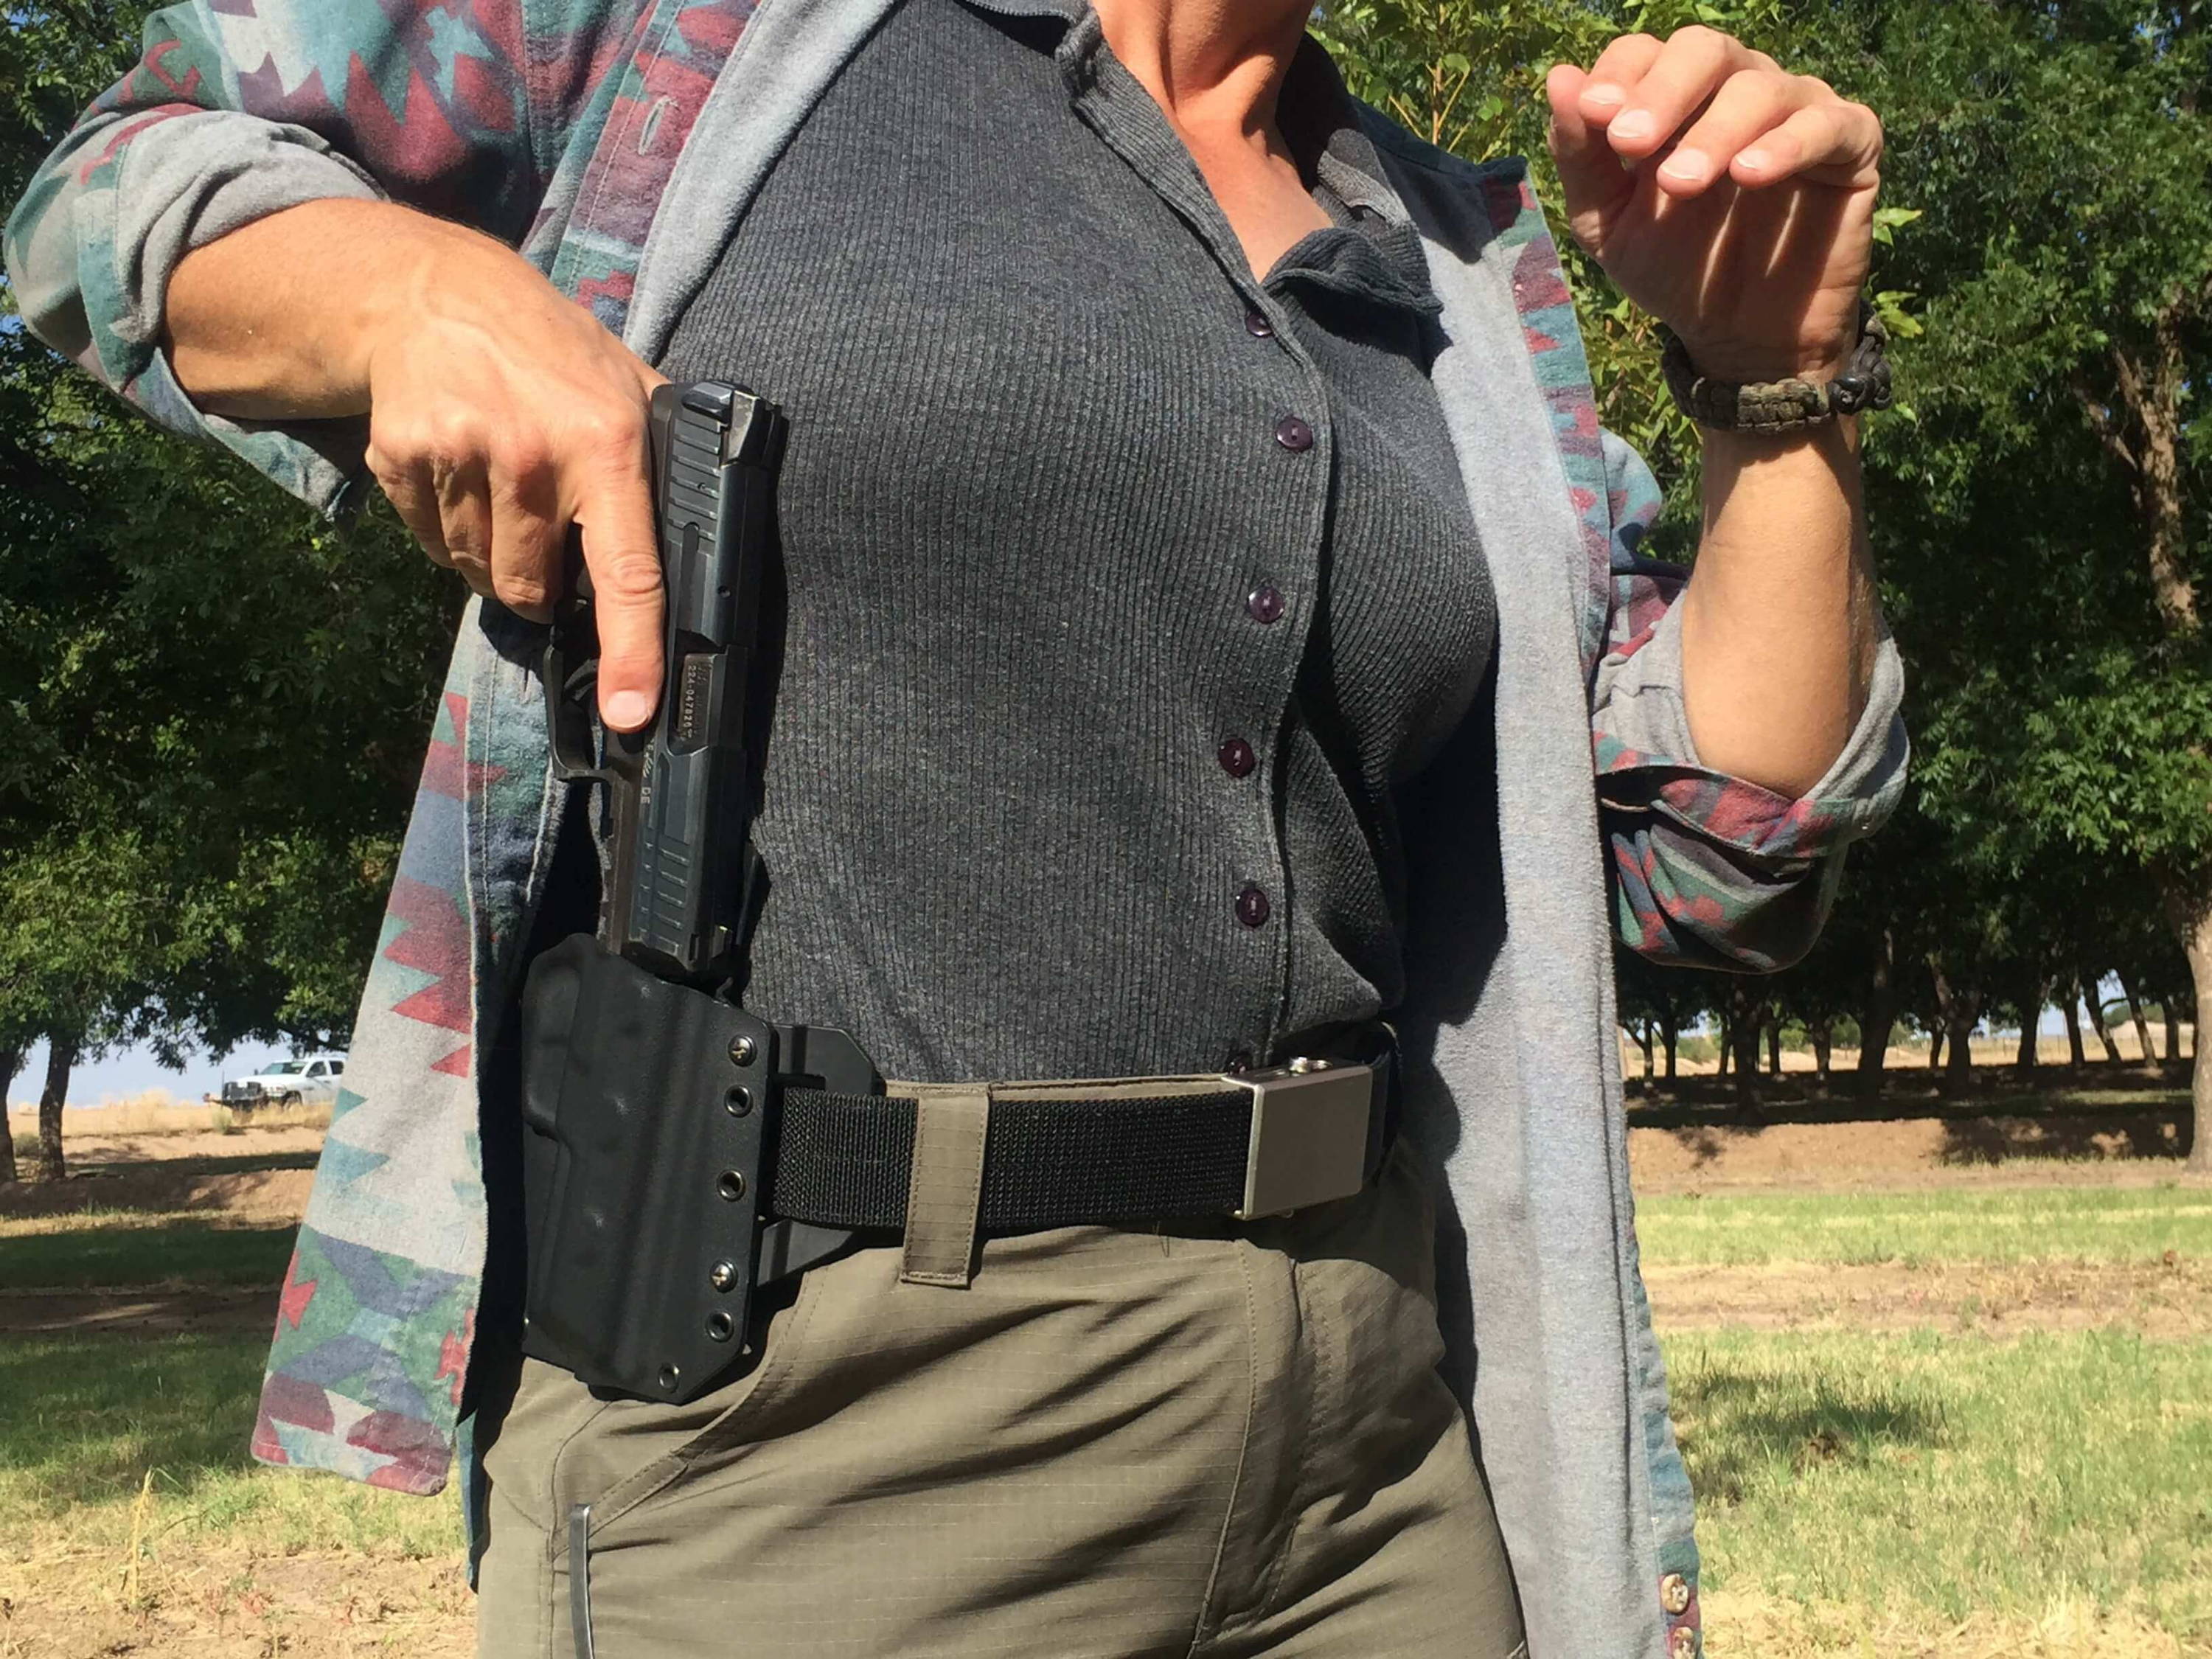
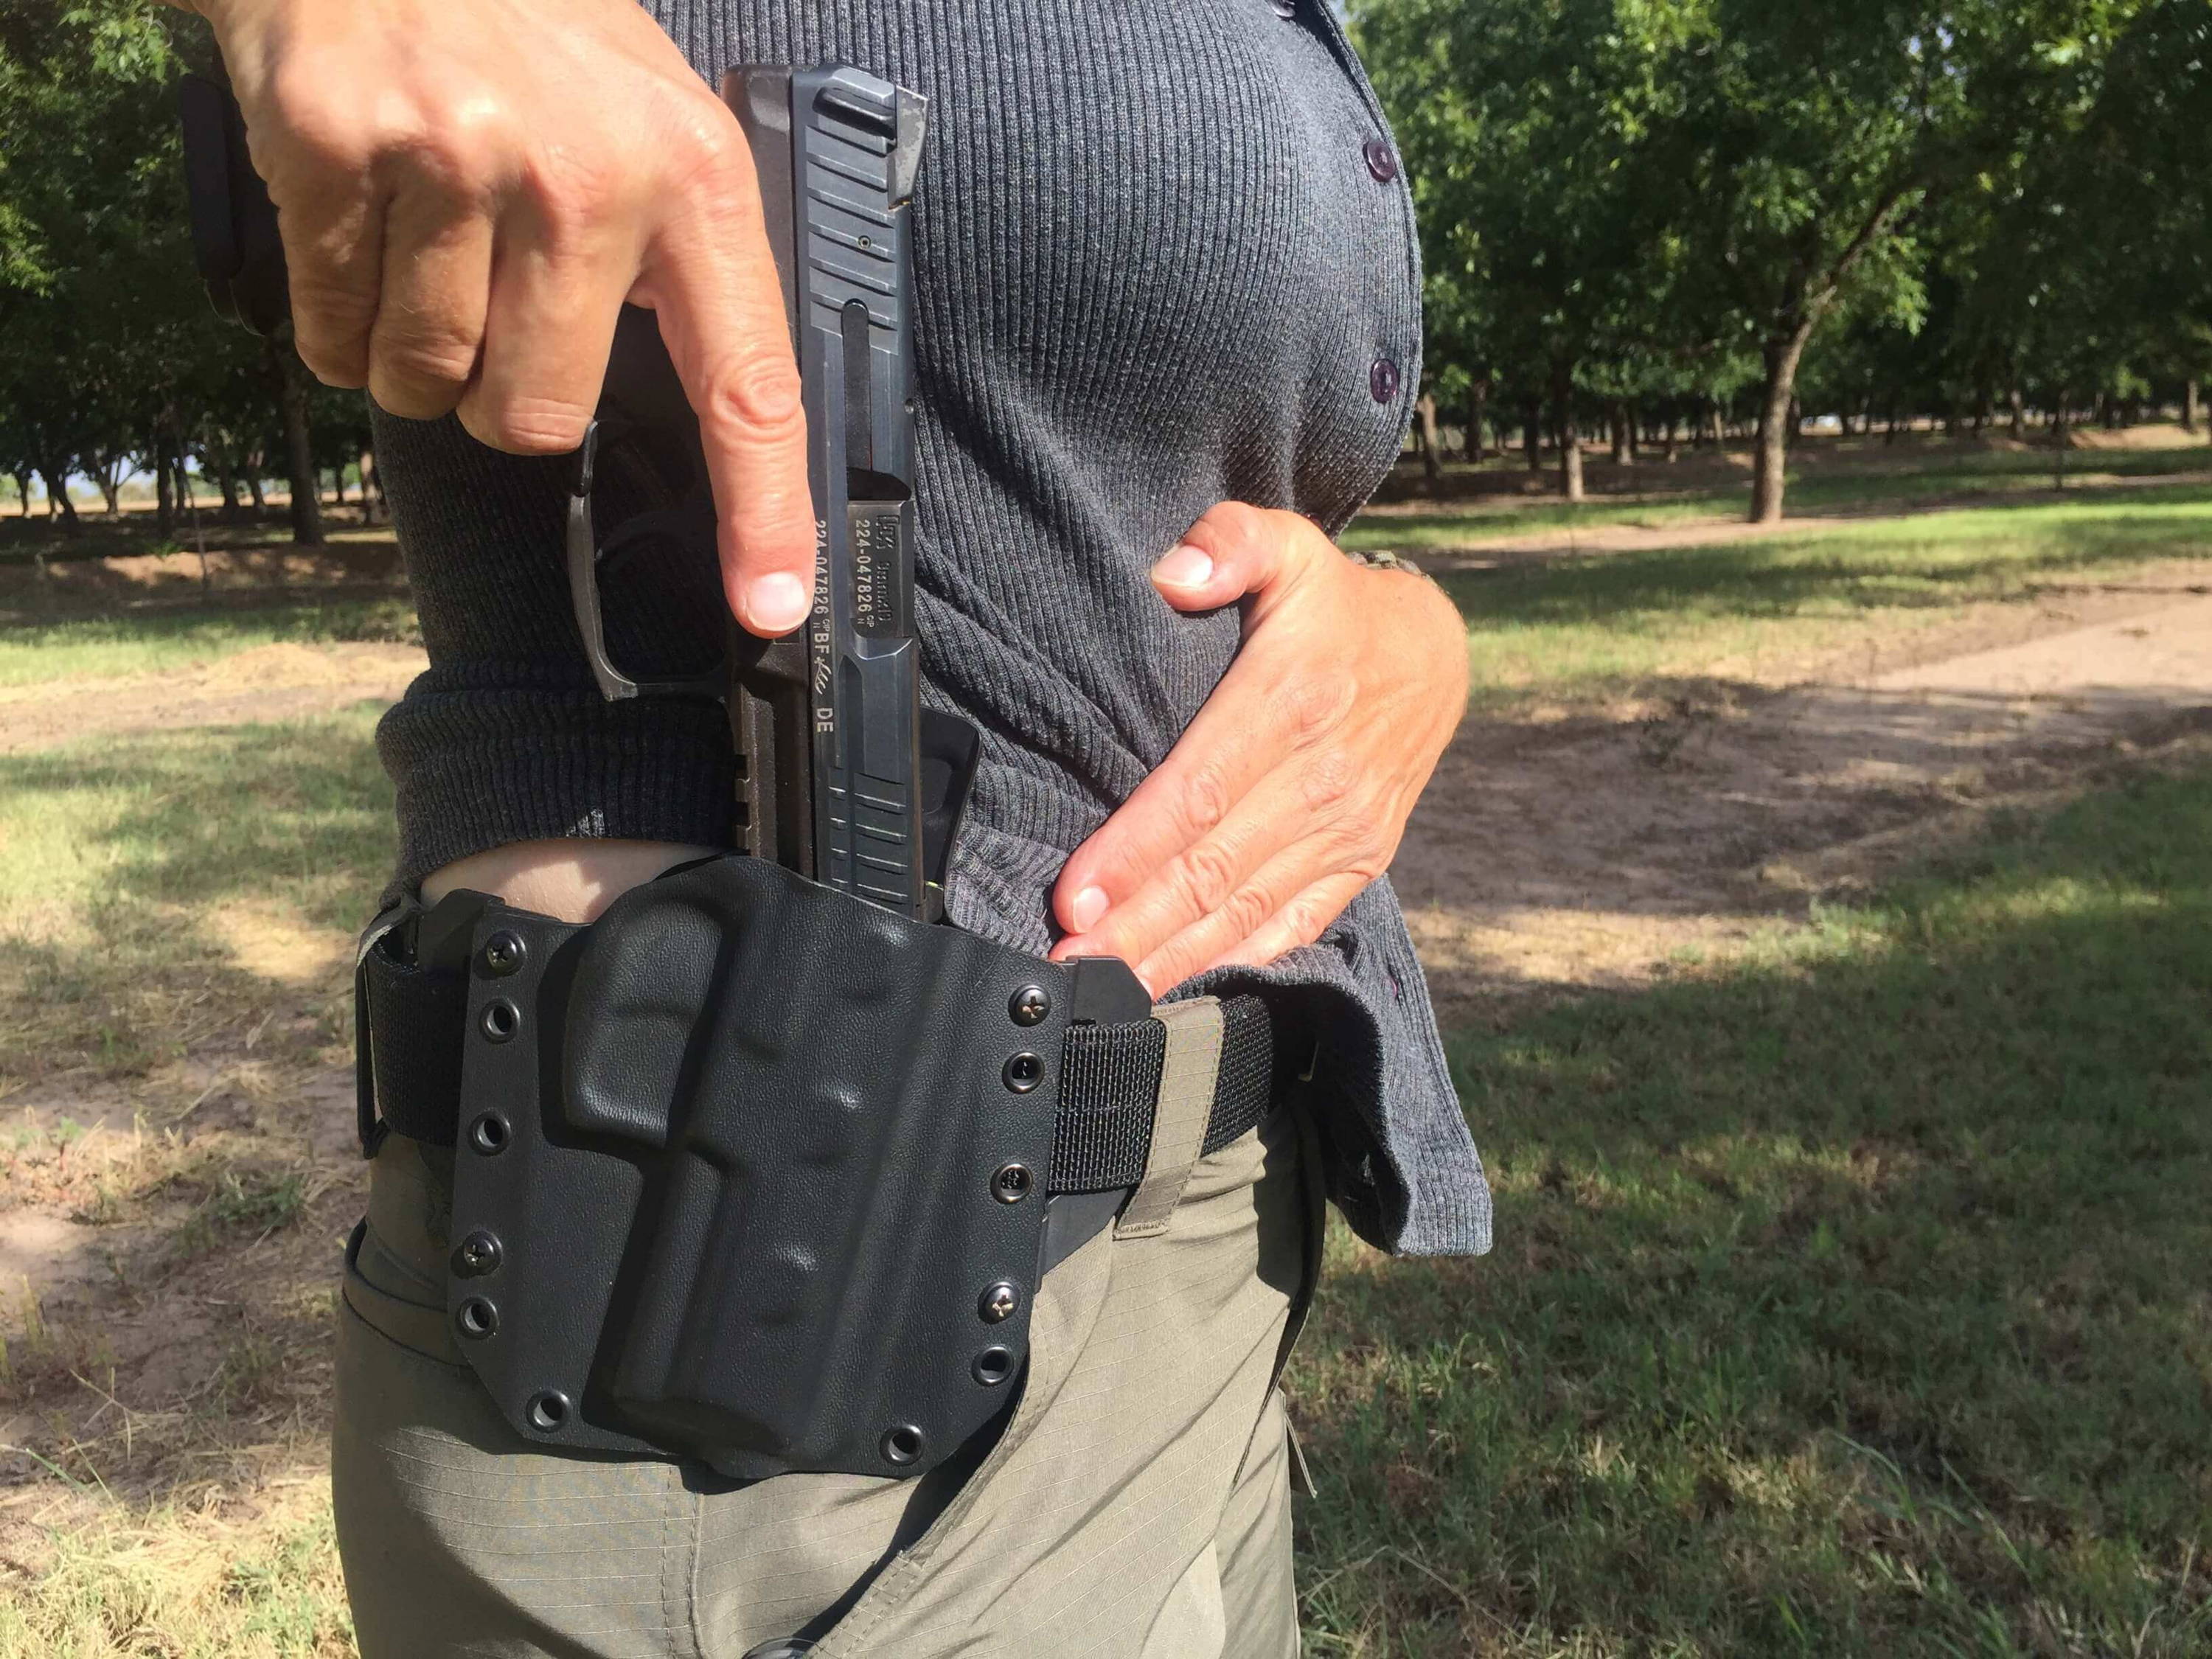
3) Be sure the holster is clear of potential wardrobe malfunctions
It’s best to tuck your shirt in tightly when wearing a holster outside the waistband. If not, or if you’re wearing a shirt that’s baggy, you risk pushing a fold of clothing or—heaven help you—a button or drawstring toggle into the holster. That can result in a negligent discharge that chews up your leg.
Clearing baggy shirts from the holster area is best done by placing your support hand flat against your abdomen just in front of the holster, pressing against yourself as you push that hand toward your midline. This will clear the holster opening while preventing the muzzling of your own hand or wrist. One bullet, however unintentionally discharged through the brachial artery in the wrist, can end a life!
Outerwear, like an open jacket, is also of concern. Be especially careful if you’re wearing a jacket that has toggles and a drawstring at your midline. These can get inside the trigger guard as you reholster, possibly offering no feeling of having to push harder to insert the gun before a round breaks and ruins your leg. you must keep such a jacket on during practice, there are two ways to keep it out of the way:
- -Tighten the drawstring to hold the garment above holster level on your waist, and use the shirt-smoothing technique in the paragraph above, or,
- -Employ the “IDPA sweep,” quickly tracing the firing hand thumb around the ribs to fling an open-front jacket rearward, clearing the holster long enough to reinsert the gun. Having some weight—like a set of keys a hefty phone charger—in the front pocket of the jacket can make it easier to swing in a controlled fashion.
3) Don’t use the muzzle to work the gun into a collapsible holster
Some people use soft-sided holsters for pocket or appendix carry. These holsters collapse flat when the gun is drawn—flat as a pancake, in fact. The muzzle is not a fishing pole! Holsters that collapse upon drawing must be deliberately placed back on the gun—not vice versa. That means I have to remove the holster from my waistband and, using my support hand, lower it onto the muzzle from above. This way the muzzle never covers my non-gun hand or other body parts. It’s very little trouble since this is only necessary when I’m doing a chamber check or after firing.
Comments (5)
Super awesome article! Definitely great points to consider when reholstering. As a fairly new concealed carry individual, this article provided amazing insight on the importance.
As a long time firearms instructor, both LE and Civilian, this is what I’ve been telling my students for many years. I always say, ”Draw fast and holster slowly!” Along with that, I tell them that if they feel any resistance when re-holstering, STOP and fix it! Thank you for a great article.
Good stuff! I see the safety violations mentioned here in pretty much every class. I think we (instructors) need to slow things down a little and POUND this information repeatedly into students. It’s so important.
I agree with Jason about placing the thumb on the rear of the slide when reholstering, and I would go so far as to say it doesn’t matter whether the pistol has a hammer or not. Thumb on the back of the slide not only disengages grip safeties, but helps keep the slide in battery in a snug-fitting holster.
While I agree with most of the above information, I disagree with the part about keeping a firing grip on the gun while reholstering.
I prefer to keep my hand in a similar position but I place my thumb on the rear of the slide and lift up to remove any pressure from the grip safety.
If your gun doesn’t have a grip safety or a hammer then by all means holster that way. Mine is an XDS with no hammer but it has a grip safety and I would rather have it disengaged if something by chance did get in the way of reholstering.