
Before you can draw your firearm effectively, you need to understand one thing: the draw is a foundational skill that must be executed with precision and consistency—every single time. One thing to remember, don’t chase speed. Speed is a byproduct of correct technique.
Drawing your gun isn’t about being flashy or fast out of the gate. It’s about efficiency, control, and safety. When done right, the motion is smooth and fluid—almost second nature. That only comes through proper form, drilled into muscle memory over time.
In this post, we will walk through each phase of the draw stroke in a clear, step-by-step format. The goal? A repeatable process you can practice and refine until it becomes instinctive.
Mindset Before Motion
Before you even reach for your firearm, your mind needs to be in the right place. Drawing a gun is not about intimidation. It’s a last resort—something you do when the situation demands it and all other options are exhausted. That decision must be rooted in clear threat recognition.
Step One: Your Stance Is Your Foundation
Every solid draw begins with a stable stance. If I’m standing, I square my body toward the threat—feet shoulder-width apart, knees slightly bent. My weight is slightly forward, on the balls of my feet. This stance isn’t rigid, it’s responsive. Think athletic, not robotic.

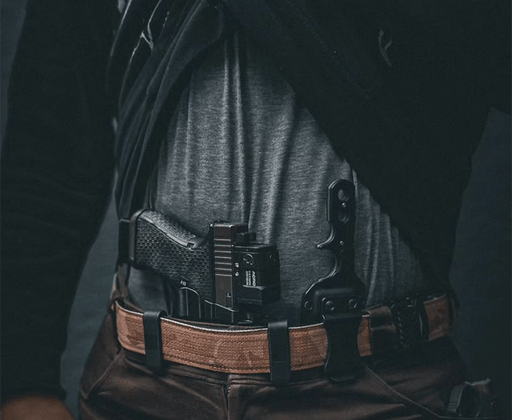
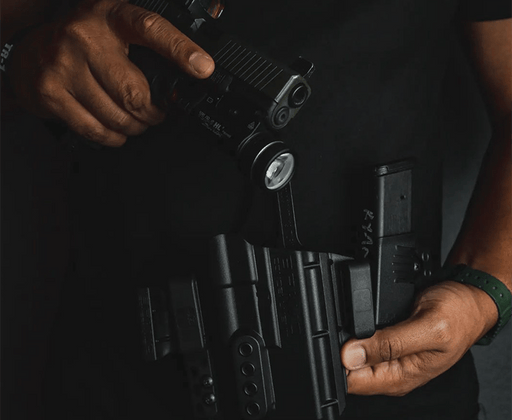
Step Two: The Grip—Establish It Early
The moment your hand touches your firearm, you’re either setting yourself up for success—or for fumbles. A good grip is high on the backstrap, fingers wrapped with firm but not tense pressure.

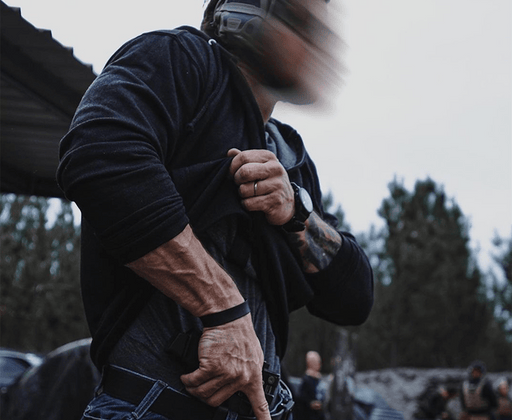
Step Three: Draw Straight Up and Clear the Holster
Here’s where a lot of people rush. I get it—you’re under pressure. But this is where slow becomes fast. When I draw, the gun comes straight up out of the holster. This vertical motion ensures I don’t snag on clothing.
Once the muzzle clears the holster, it starts to rotate toward the target, muzzle downrange, trigger finger still straight and off the trigger.
Step Four: The “Drive Out” to Extension
This part should look like a smooth punch forward. The gun comes to my midline, just below chest height, and then I “drive” it out toward the target, both hands meeting to form a proper two-handed grip.
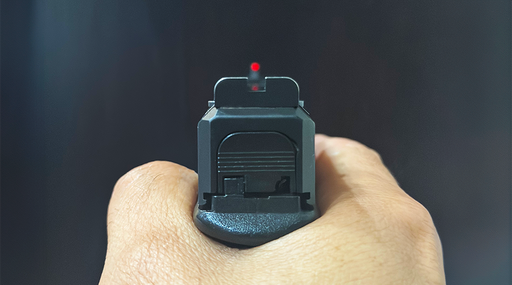
At this stage, I’m acquiring my sight picture. My eyes are already on the threat; the front sight comes into view as I extend.

Step Five: Finger Discipline and Fire Decision
My finger stays indexed along the frame until I’m absolutely ready to shoot. Trigger discipline saves lives—sometimes your own.
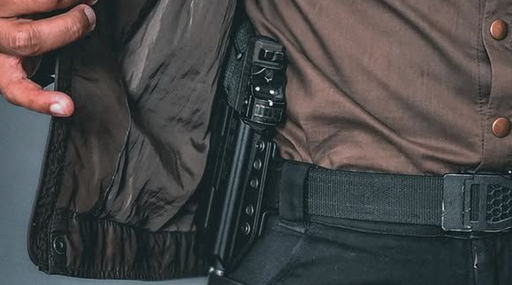
Step Six: Reholstering—Slow and Deliberate
This is the part most people treat as an afterthought. Don't.
When I reholster, it’s slow, deliberate, and controlled. There’s no award for fast reholstering. I visually confirm the holster is clear and guide the gun back in carefully, making sure my finger is well away from the trigger.
Practice Makes Muscle Memory
This part matters: You will not get this right by reading one blog post or watching a few YouTube videos. This skill takes reps—lots of them.
I regularly practice drawing from concealment at home using dry fire drills. A mirror is one of the most effective tools I use—it gives immediate visual feedback. Small inconsistencies—like a slightly off grip or an elbow flaring too high—can seem minor, but under stress, those little mistakes grow. Identifying and correcting them early builds confidence and reliability.
If you carry a gun, you owe it to yourself—and everyone around you—to be proficient.

Final Thoughts
Drawing your gun correctly isn’t about being tactical or looking cool. It’s about being responsible.
If you’re new to concealed carry or self-defense, find a qualified instructor. Don’t rely on Hollywood or social media tactics. This is a skill that can save your life—or cost it, if done wrong.
Train and remember: the best draw is the one you never have to make.
---------------------------------------------------------------------------------------
NOTE: We'd like to thank Luis Vidaurre @luishunting and J.C. Lamprecht @jclamprecht_cqs for the pics and GIFs


Leave a comment
1 comment
Very well written. Informative and easy to understand.